This guide is to update a signature from Outlook 2019
1. In the toolbar at the top of our program, we look for File and click.
Example image:

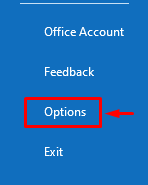
2. A new window opens and in the blue bar that is on the left side of our screen we are going to press Options
Example image:
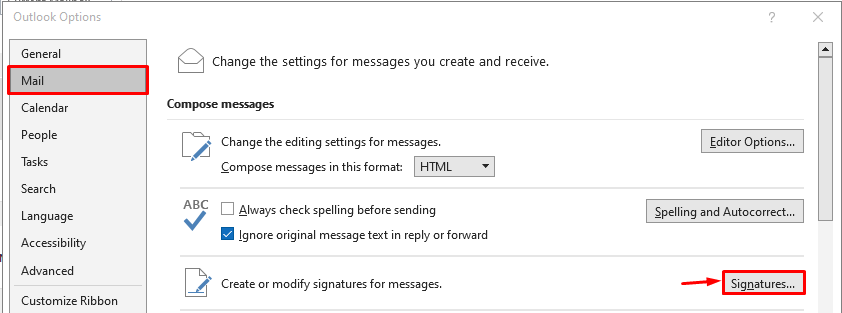
3. A window is displayed where the Account Options are, on the left side we are going to look for the Mail option and click
In the same window we are shown the information, and we are going to look for the section that says: Create or modify signatures for messages and press the button that says Signatures
Example image:
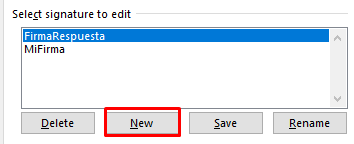
4. A new window opens and to select signature to edit, we press on new.
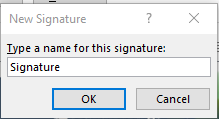
5. A pop-up box opens and here we will place the name of our firm and press accept.
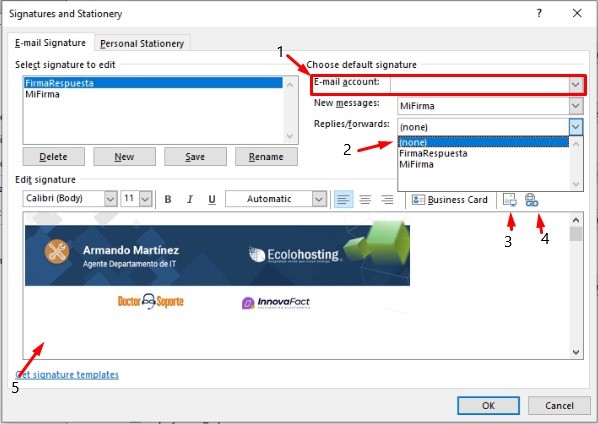
6. We select the email to which our signature will be linked
6,1. If we have more than one registered email, we can choose which email corresponds to the signature.
6,2. We can add a signature to our reply’s emails
6,3. We can add an image that is saved on our computer
6,4. We can add a hyperlink
6,5. If we have added an image it is shown in the box, also if necessary you can add text.
Once we finish configuring our signature to our liking, we click OK.
With this, we have finished the guide to configure a signature in our Outlook 2019 email.

