Guide to configure IMAP mail in the Mail app in Windows 10 and Windows 11
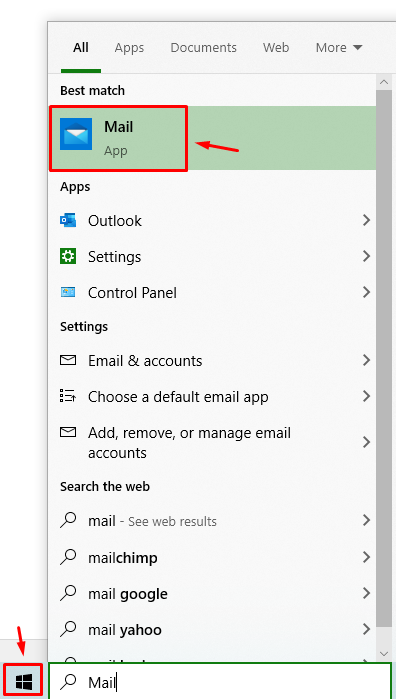
- In our taskbar we press the Windows symbol and in the search box we type Mail, once it appears we will click to open the application.
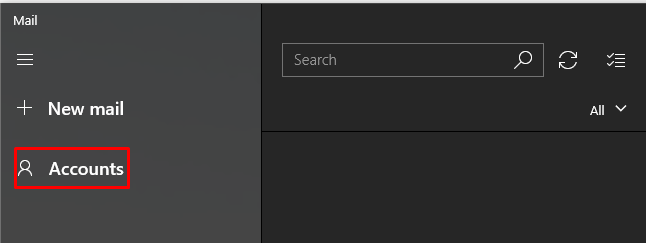
2. Once the mail application on Windows is open on our left side of the screen, Accounts appears, we press
3. On the right side of our screen, the Manage accounts menu is displayed, click on add account
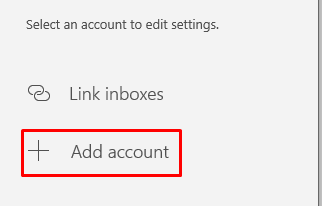
4. We press Advanced Setup
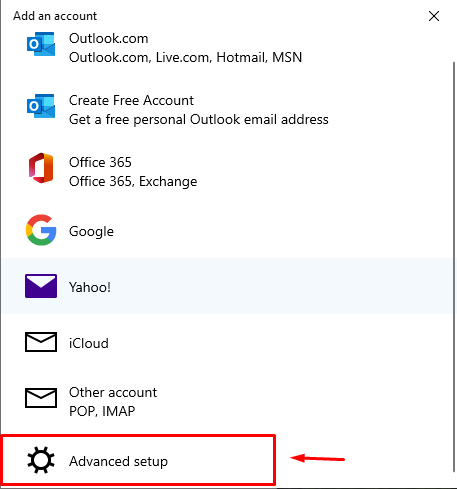
5. We select the Internet Email option

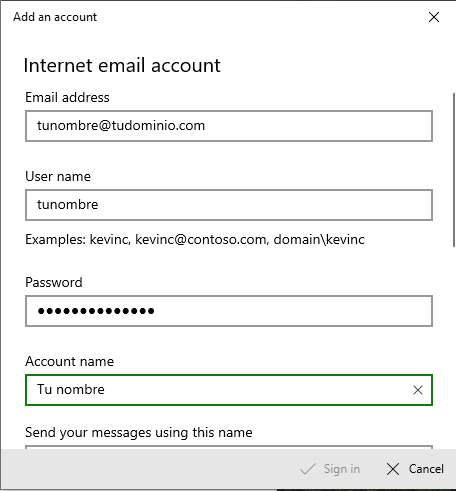
6. The Add account window opens, where we will place our information
6.1. We put our email
6.2. A username
6.3. We enter the password of our mail
6.4. In the name of the account, we add our name
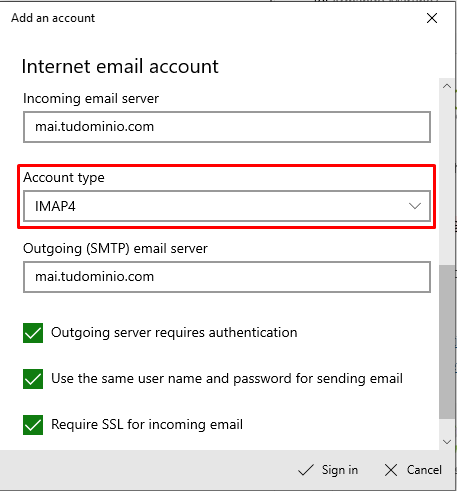
In the same window to add an account, we scroll down and continue with the configuration
6.5. We add our input server
6.6. Type of account select IMAP4
6.7. We enter the output server
Example: mail.yourdomain.com
7.- We log in to our account.
With this, we finish our mail configuration in Windows 10/Windows 11
