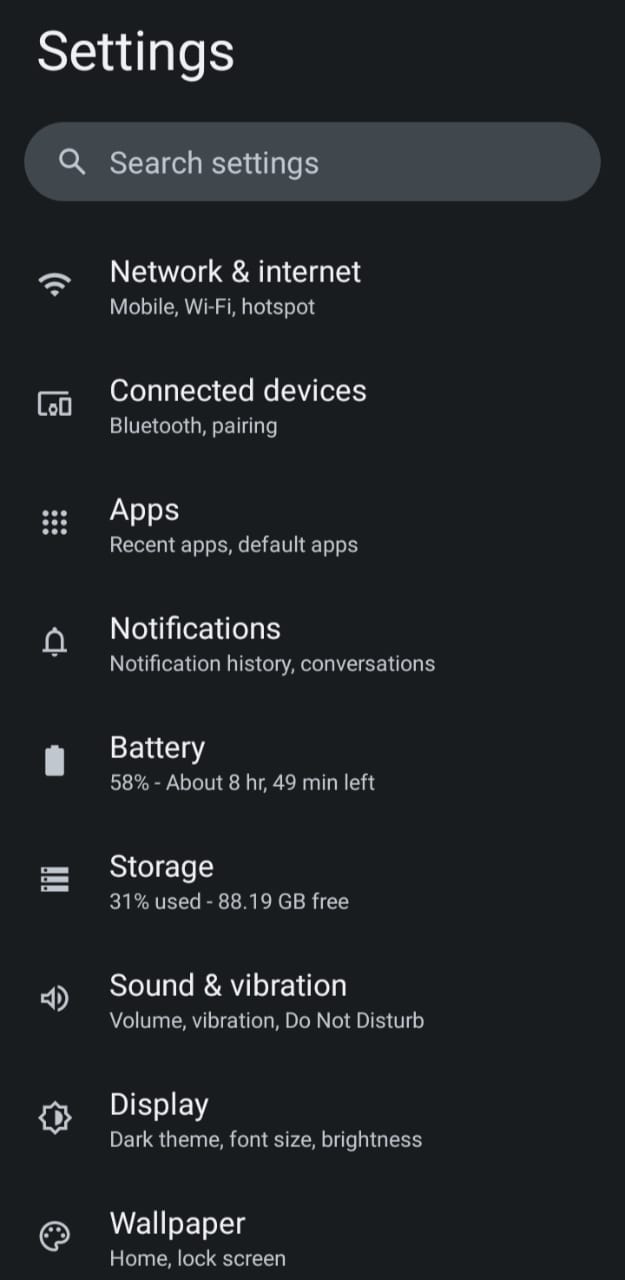
1.- To configure an email account we go to Settings
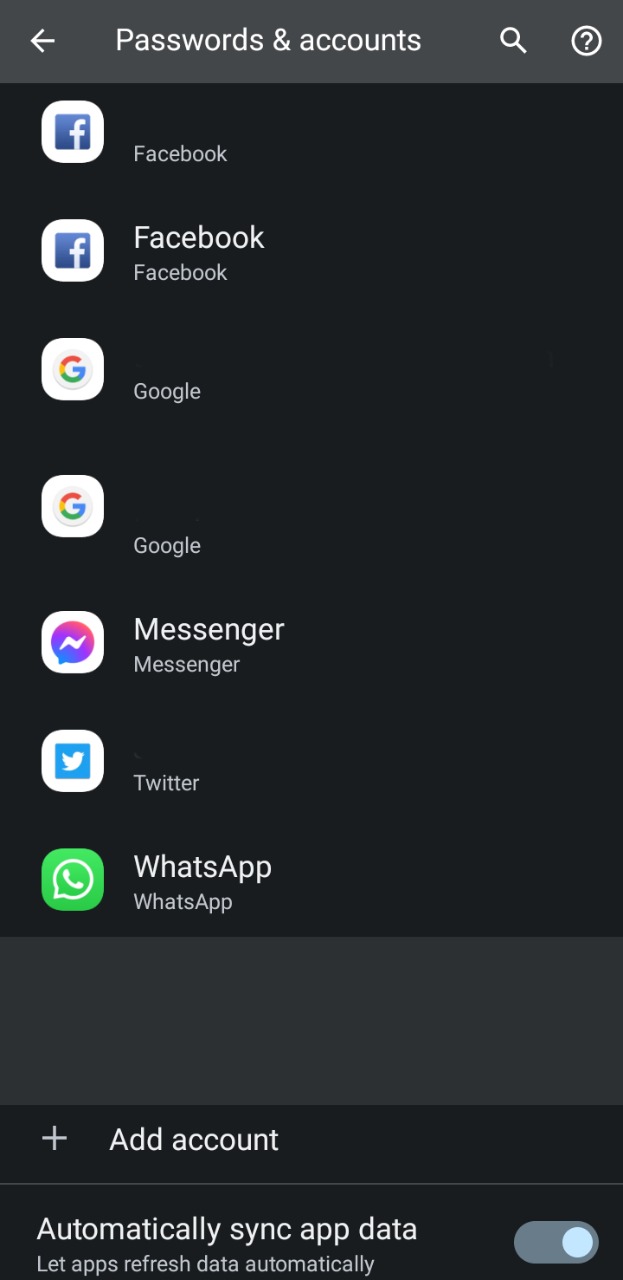
2.- We search, Passwords and Accounts

3.- Add Account
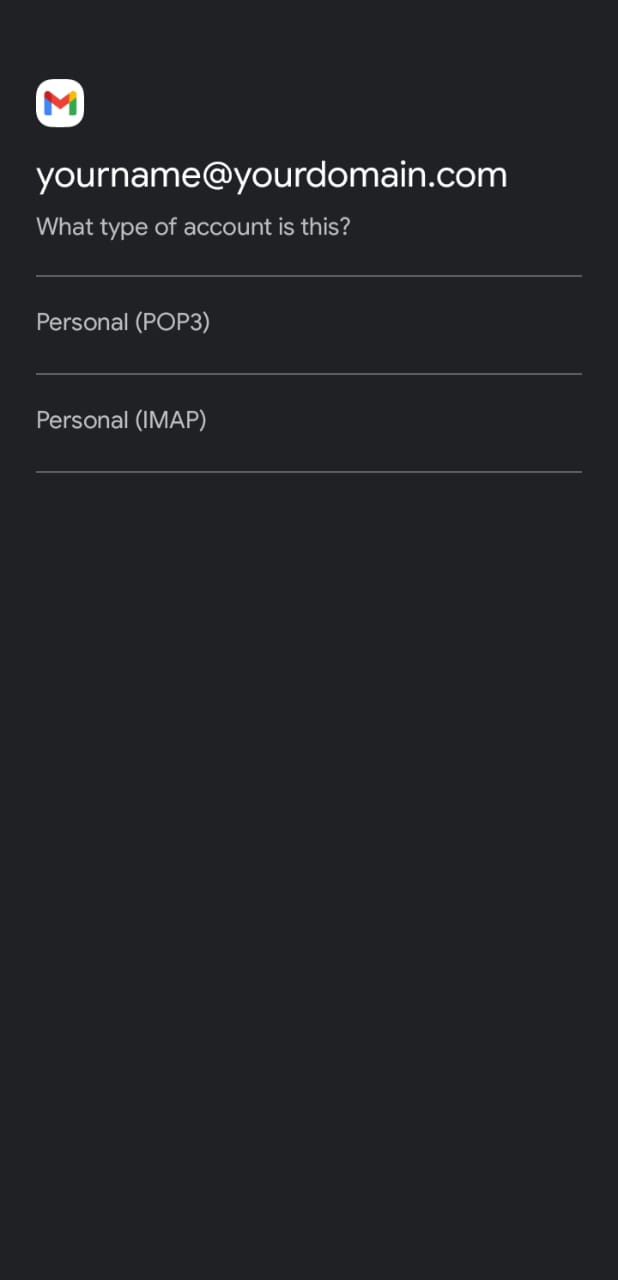
4.- Personal (POP3) (Recommended when you want your phone to be your personal device) or Personal (IMAP) (Recommended when you use more than one device)
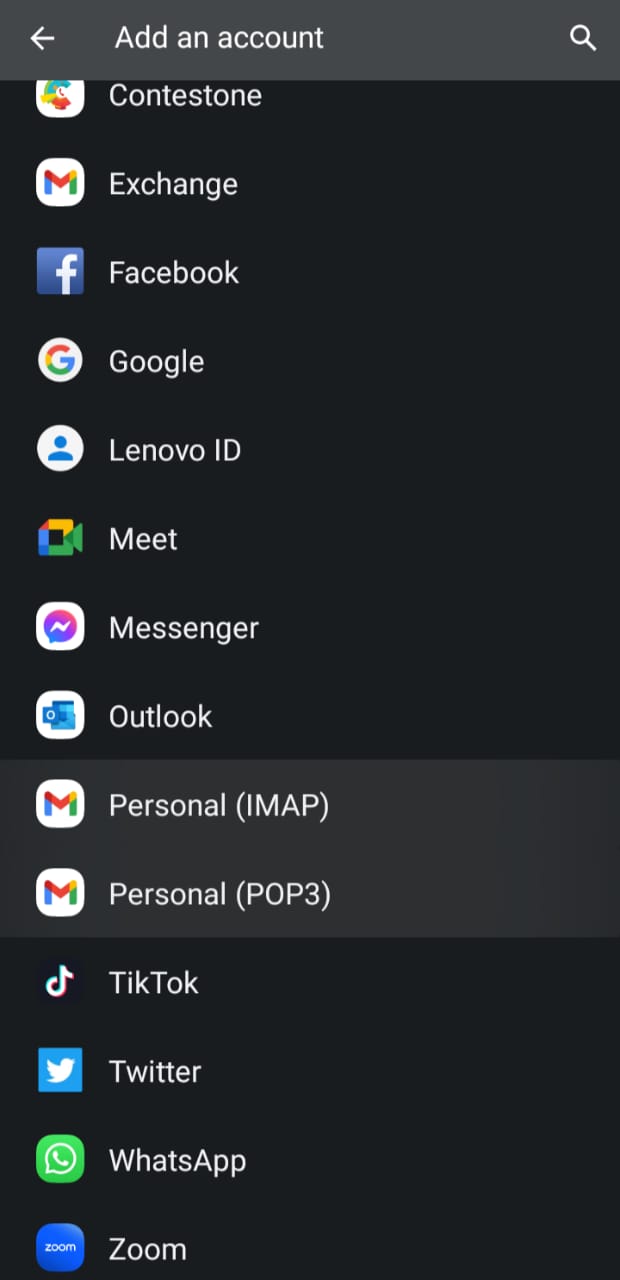
*What is POP3: it means Post Office Protocol revision 3. This protocol manages the way to receive email messages from your server. A distinctive feature of POP3 is that it deletes messages from the server after they are downloaded to your computer. This makes it impractical if you want to access your email from more than one device.
*What is IMAP: IMAP allows you to access your email from anywhere and from any device. When you read an email message using IMAP, you're not actually downloading and storing it on your computer; Instead, you are reading it in the email service. As a result, you can check email from different devices, anywhere in the world: your phone, a computer, a friend's computer.
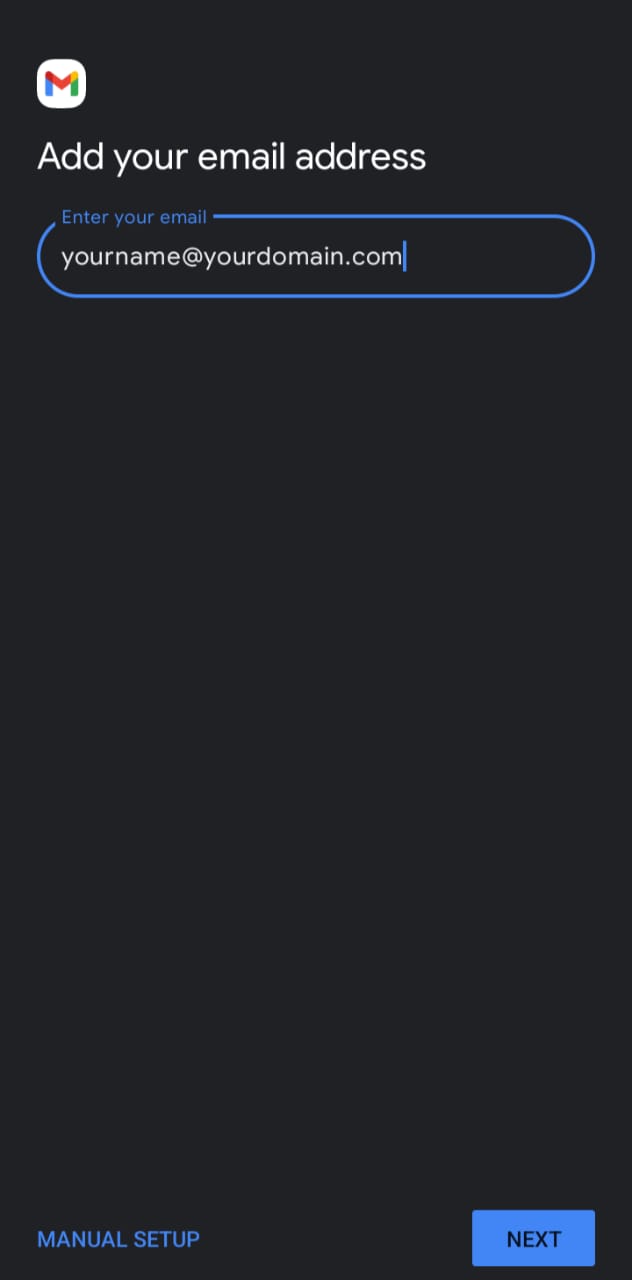
5.- We proceed to enter the email account that we want to configure, the manual configuration button shown in the image will be activated and we press it
Example: yourname@yourdomain.com
6.- In the next window we select the option Personal (POP3) or Personal (IMAP) depending on which service you require
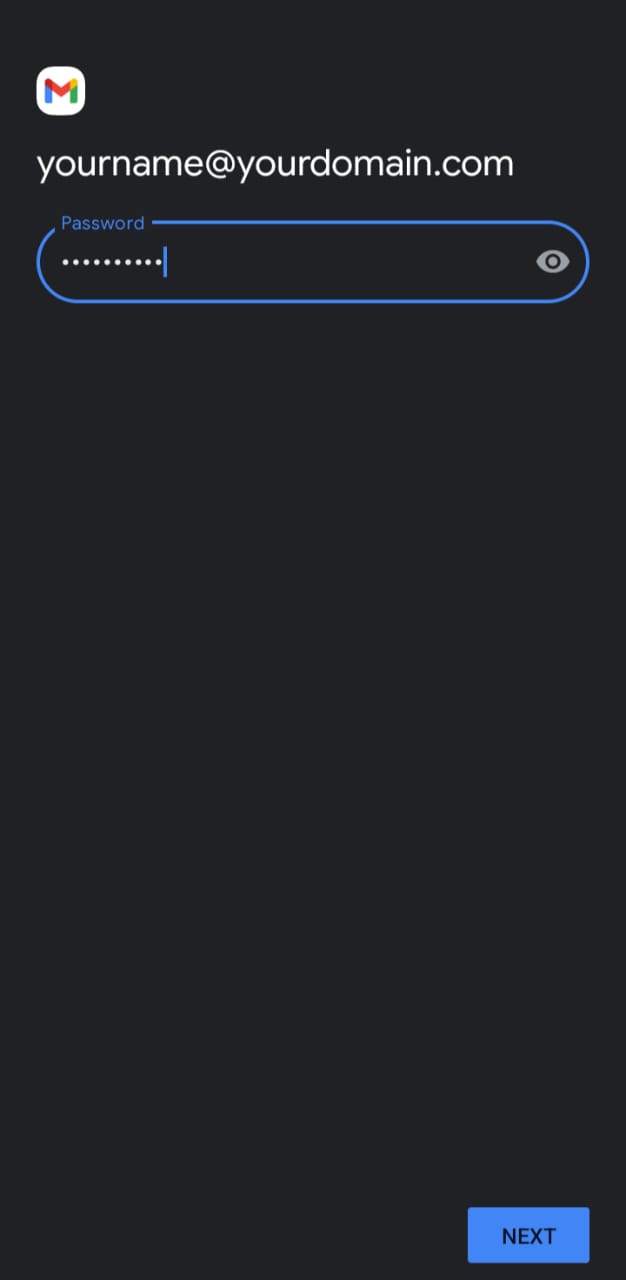
7.- We add our email password
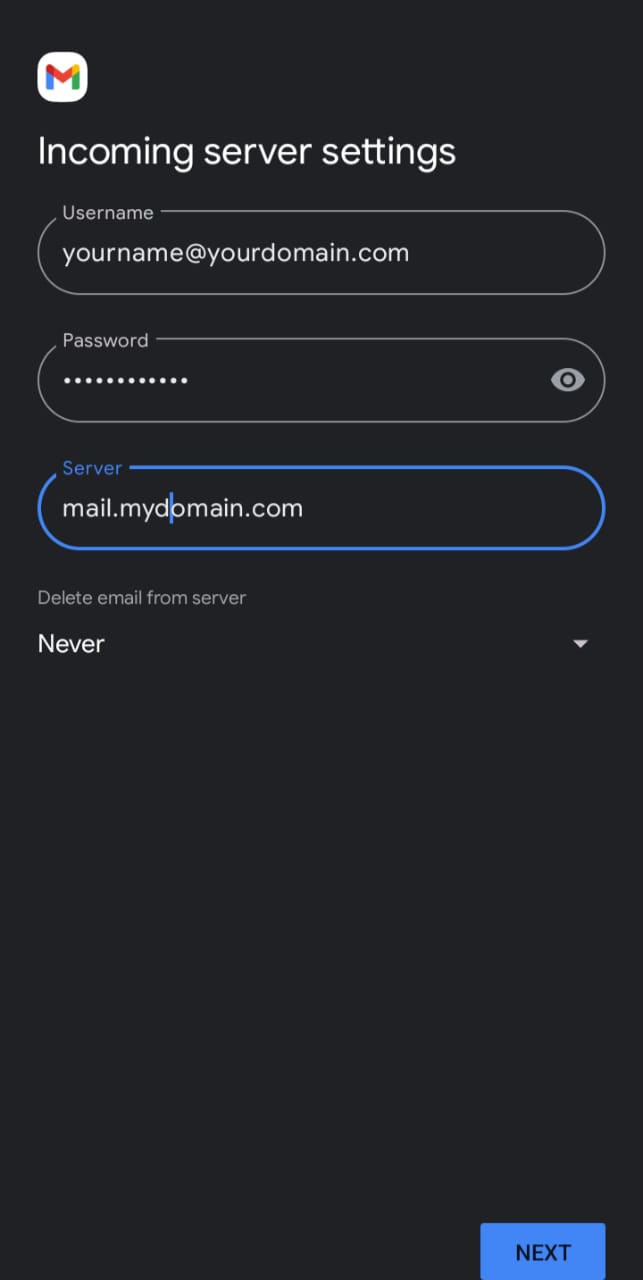
8.- We make sure to confirm our data in the configuration of the
1.- Email
2.- Password
Example: mail.yourdomain.com
9.- We make sure to confirm our data in the configuration of the outgoing server
1.- Email
2.- Password
Example: mail.yourdomain.com

10.- We configure the account options
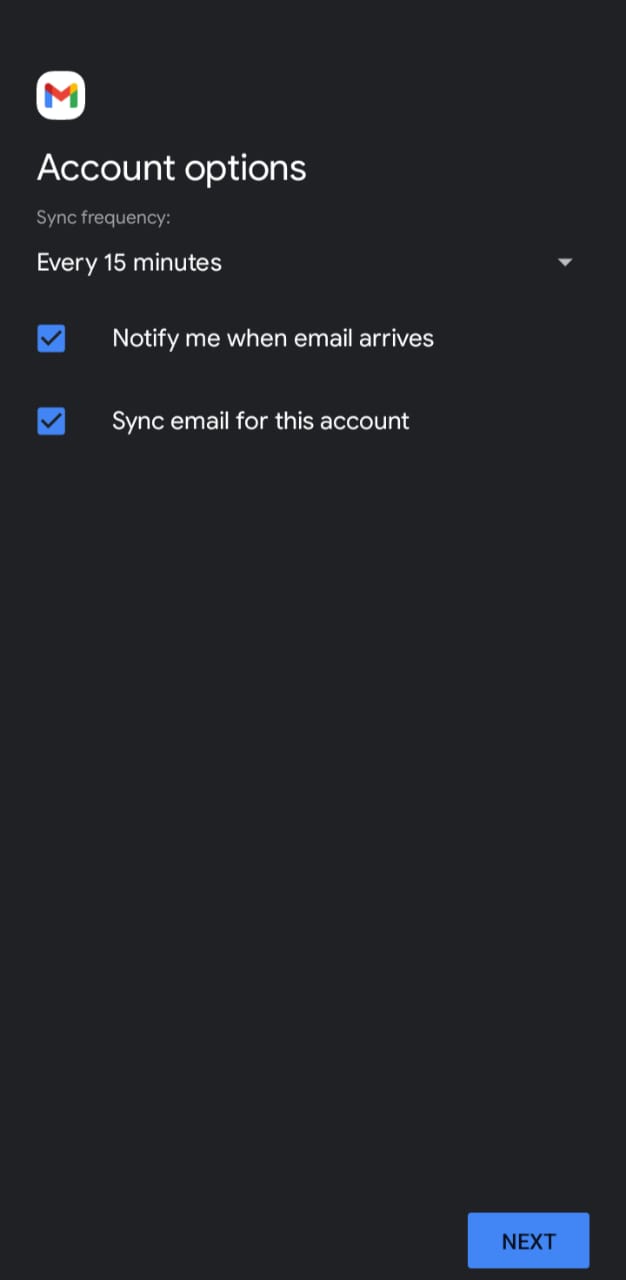
*It is important to make it clear that the time you select is the interval time in which it will search for new emails (If you select 15 min every 15 minutes it will search for a new email).
11.- Your account has been configured, your email and name are displayed.

12.- At this point you have already finished with the guide to Configure an Email in Android 12.
