Follow these instructions to set up your Spam Experts service, is important for you to know in what server is your domain, if you do not have this information, you can go to the next link where you will find a walkthrough on how to know it. How to know your nameserver
Note: In order to use the Spam Experts service you are requiered to purchase it, in this article we will show you how to set up the service in your Ecolohosting domains, Is worth mentioning that the Incoming and Outgoing filters are two different services and you have to buy them separately.
Setting up your Inconmig Email.
1.- Log in to the Spam Experts account to add and test the routes.
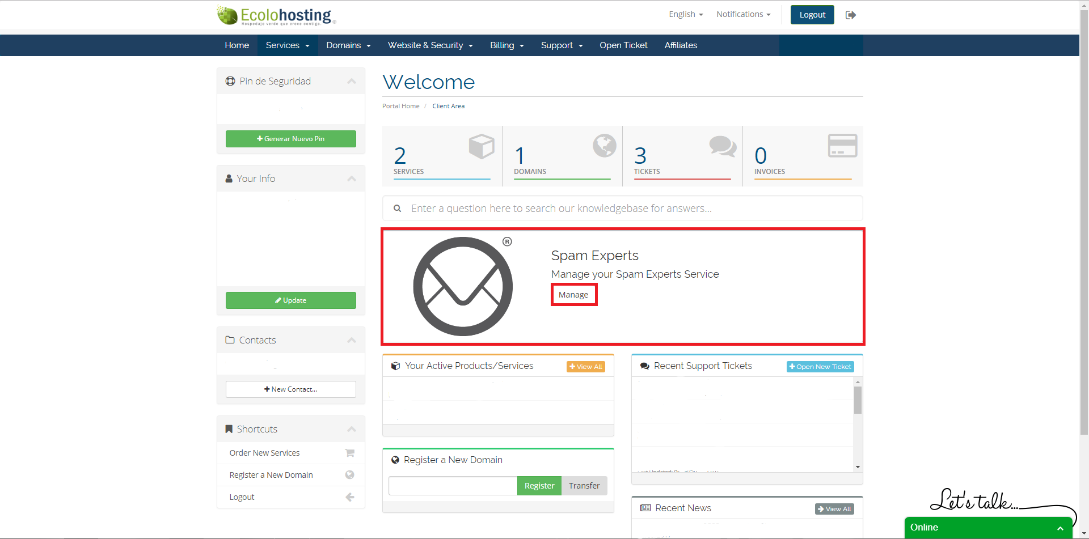
You have to log in to your Ecolohosting account, once inside the main menu go the Spam Experts windows and click on "Manage".
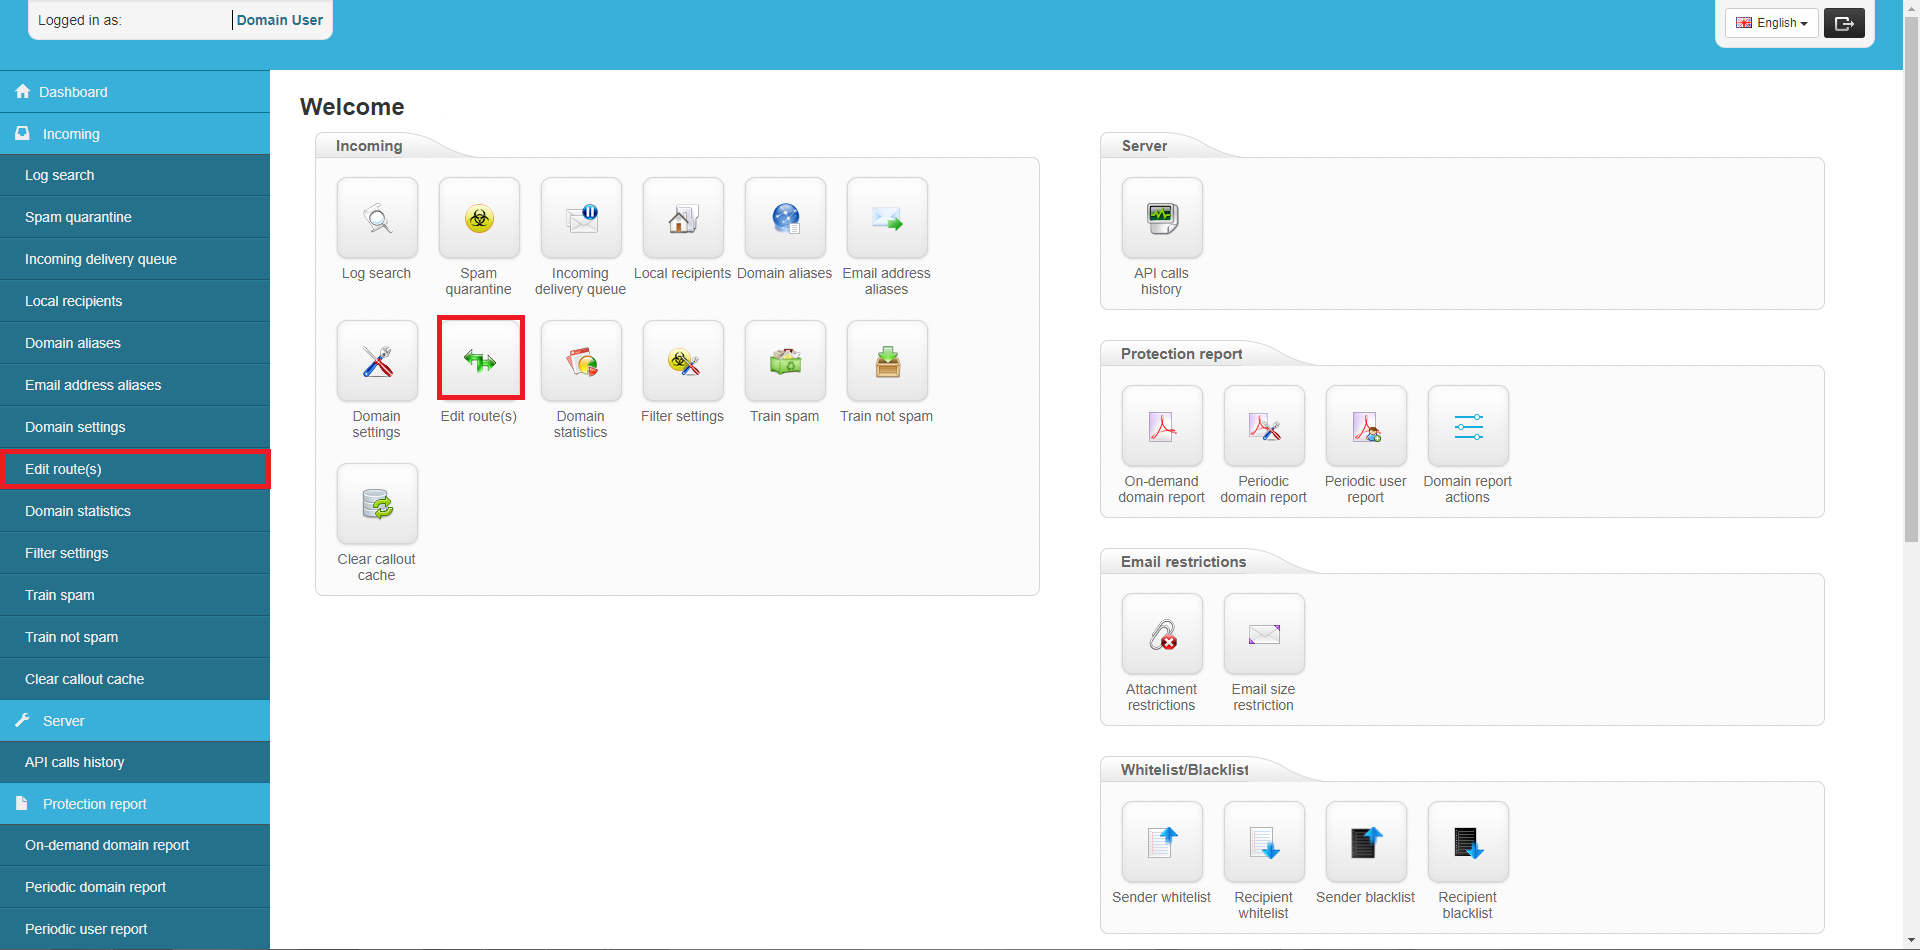
Now you are on Spam Experts dashboard, from here, go the Incoming tab on the left hand side of the screen and then click on "Edit routes".
For the GG server you have to use.
-Server: rs5.websitehostserver.net
-Ports: 587,26
-Server: rs5.websitehostserver.net
-Ports: 587,26
Example:
Domain.com: 26
Domain.com: 587
rs5.websitehostserver.net: 26
rs5.websitehostserver.net: 587
mail.Domain.com: 26
mail.Domain.com: 587
Example:
Example:
Domain.com: 587
rs5.websitehostserver.net: 26
rs5.websitehostserver.net: 587
mail.Domain.com: 26
mail.Domain.com: 587
For the HG server you have to use.
-Server: eco.ecolohosting.com.mx
-Ports: 587,26
-Server: eco.ecolohosting.com.mx
-Ports: 587,26
Example:
Domain.com: 26
Domain.com: 587
eco.ecolohosting.com.mx: 26
eco.ecolohosting.com.mx: 587
mail.Domain.com: 26
mail.Domain.com: 587
Domain.com: 587
eco.ecolohosting.com.mx: 26
eco.ecolohosting.com.mx: 587
mail.Domain.com: 26
mail.Domain.com: 587
For the IH server you have to use.
-Server: secure167.servconfig.com
-Ports: 587,25
-Server: secure167.servconfig.com
-Ports: 587,25
Example:
Domain.com: 25
Domain.com: 587
secure167.servconfig.com: 25
secure167.servconfig.com: 587
mail.Domain.com: 25
mail.Domain.com: 587
Domain.com: 587
secure167.servconfig.com: 25
secure167.servconfig.com: 587
mail.Domain.com: 25
mail.Domain.com: 587

Add all the routes, as shown in the image.

Click on the "Check router for open relays", you should have everithing with a green check, if not you will have to search for errors on the configuration.
2.- Log in to cPanel to add MxRecords.
If you don´t know how to log in into your cPanel account, here we show hoy. How to access cPanel.
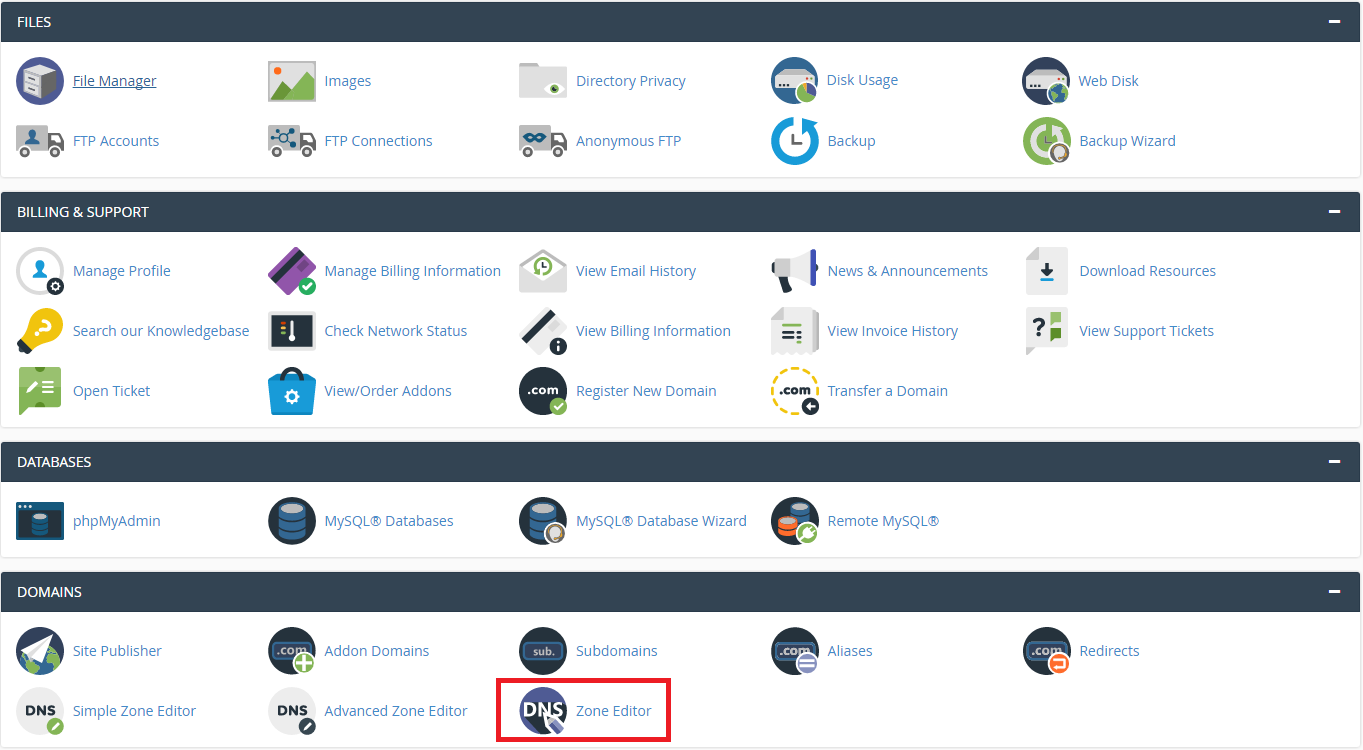
Once inside cPanel, go to "Domains" and then click on "Zone Editor".

In zone editor go to "Manage" and click it.
You will be given a list like the one below, click on the "MX" button on the top to filter the results since we only want to see the Mx records.
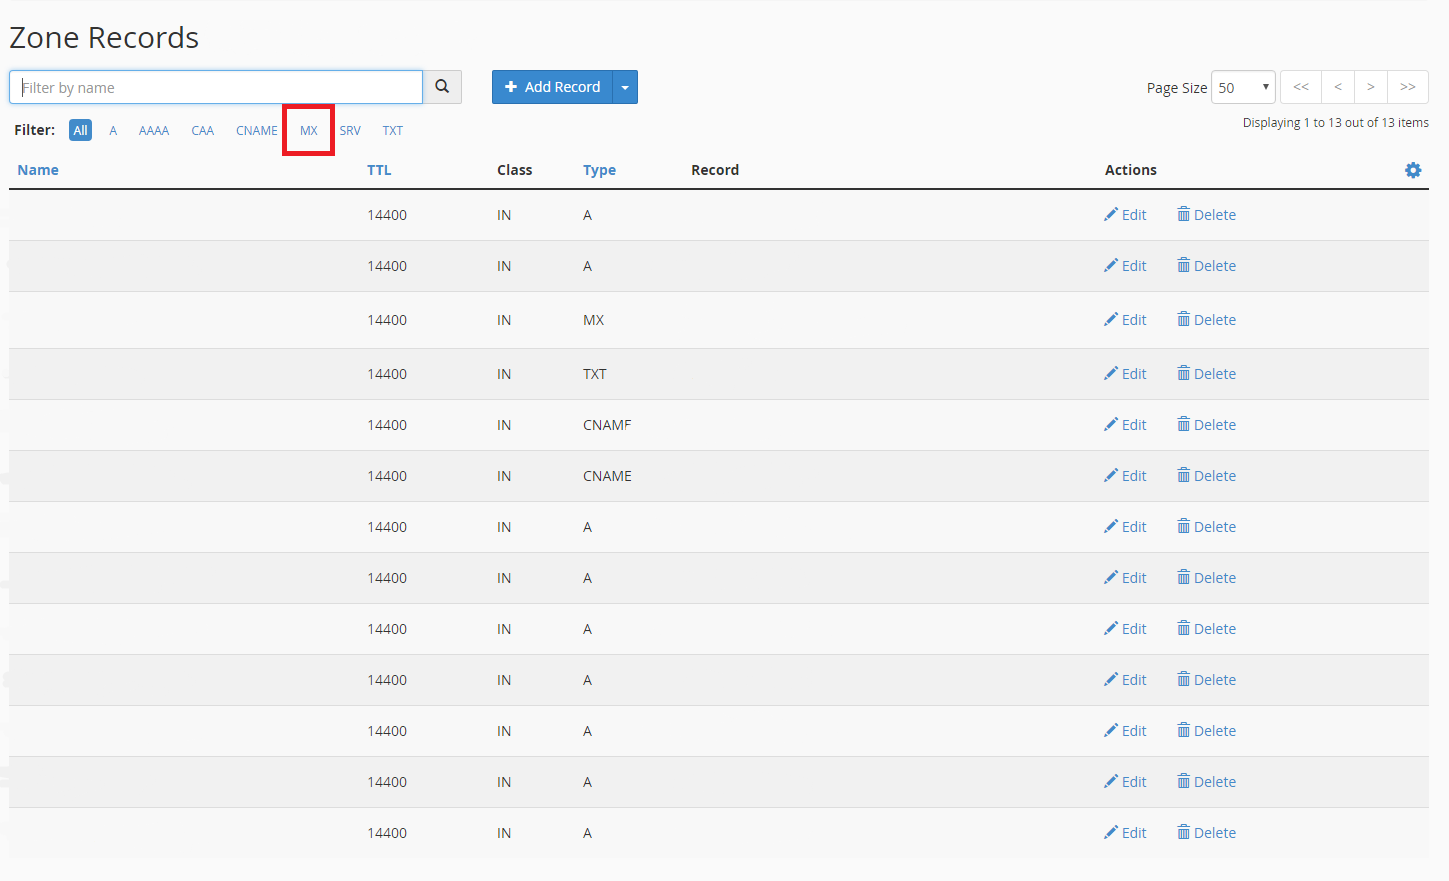
Note: To set up the Mx Records we are going to always use the next configuration since is the one compatible with Spam Experts.
Priority: 10
mx.spamexperts.com
Priority: 20
fallbackmx.spamexperts.eu
Priority: 30
lastmx.spamexperts.net

Once you have entered the Mx records you can close this windows and realize some tests.
3.-Send a test to the email that you are configuring.
Log in to an external email (e.g your personal email) and send a test mail to see if you are able to receive it.
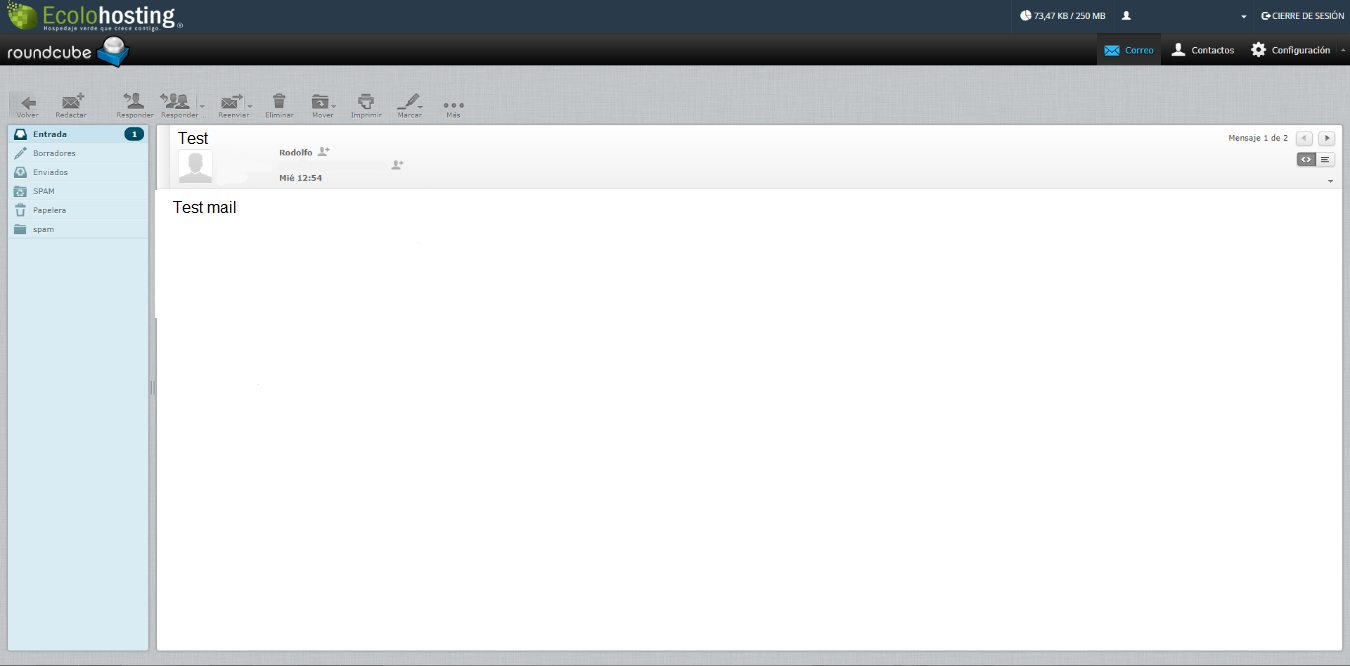
Once you are sure that you can recieve emails, you can continue with the configuration.
4.- Delete the default MX.
When adding Mx records, a default record is created with priority 0, this is an unnecesary record and it can be deleted. To do it just click on the "Delete" button as in the example below.

5.- Go to email rounting and change to local.

Back to cPanel, go to the email tab and then go to "Email routing".
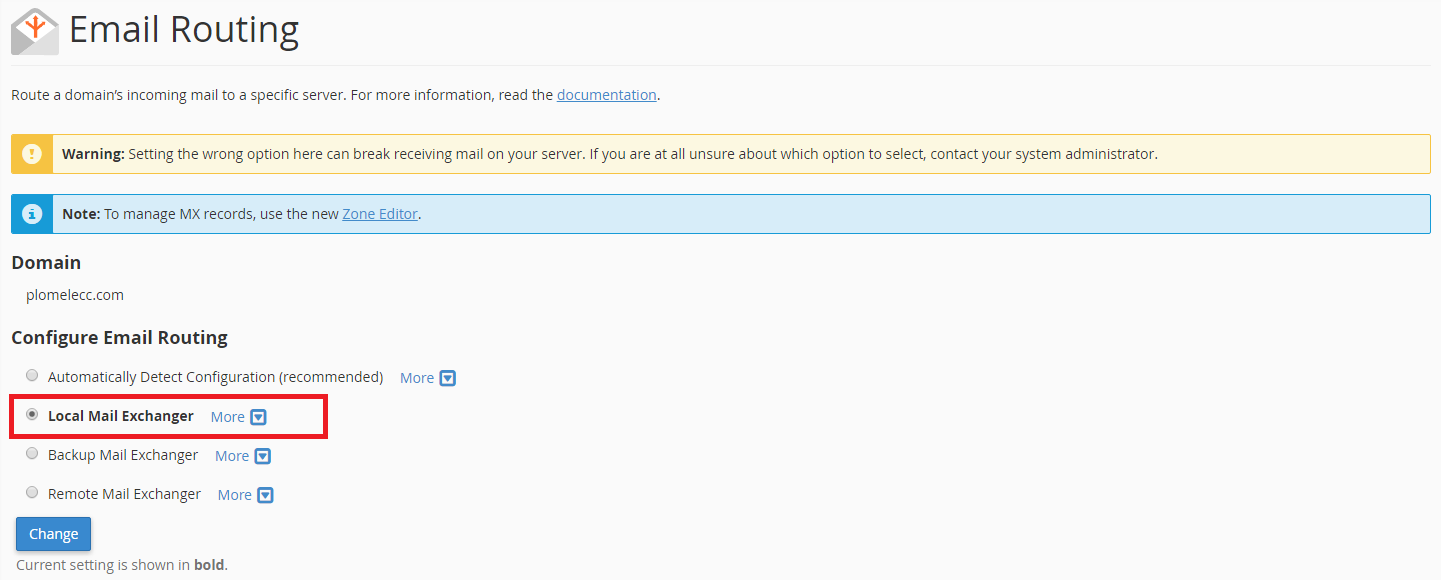
Here click on "Local mail exchanger" and then on the blue button labeled as "Change".
6.- Go IntoDNS to check if the Mx records are working.
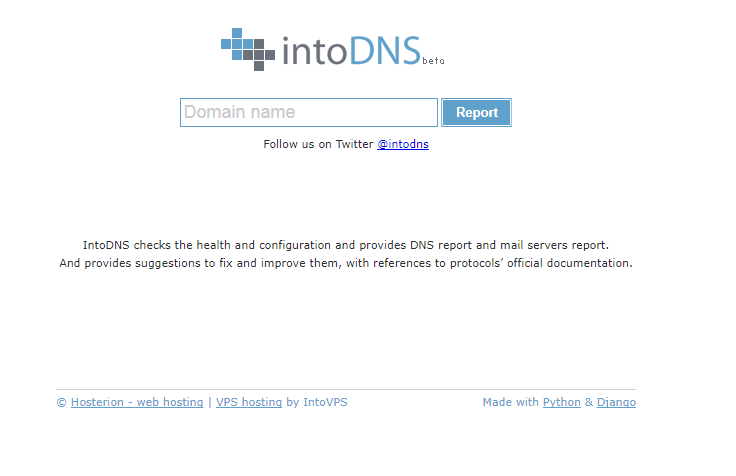
Type in the domain you are setting up and then press enter on your keyboard.
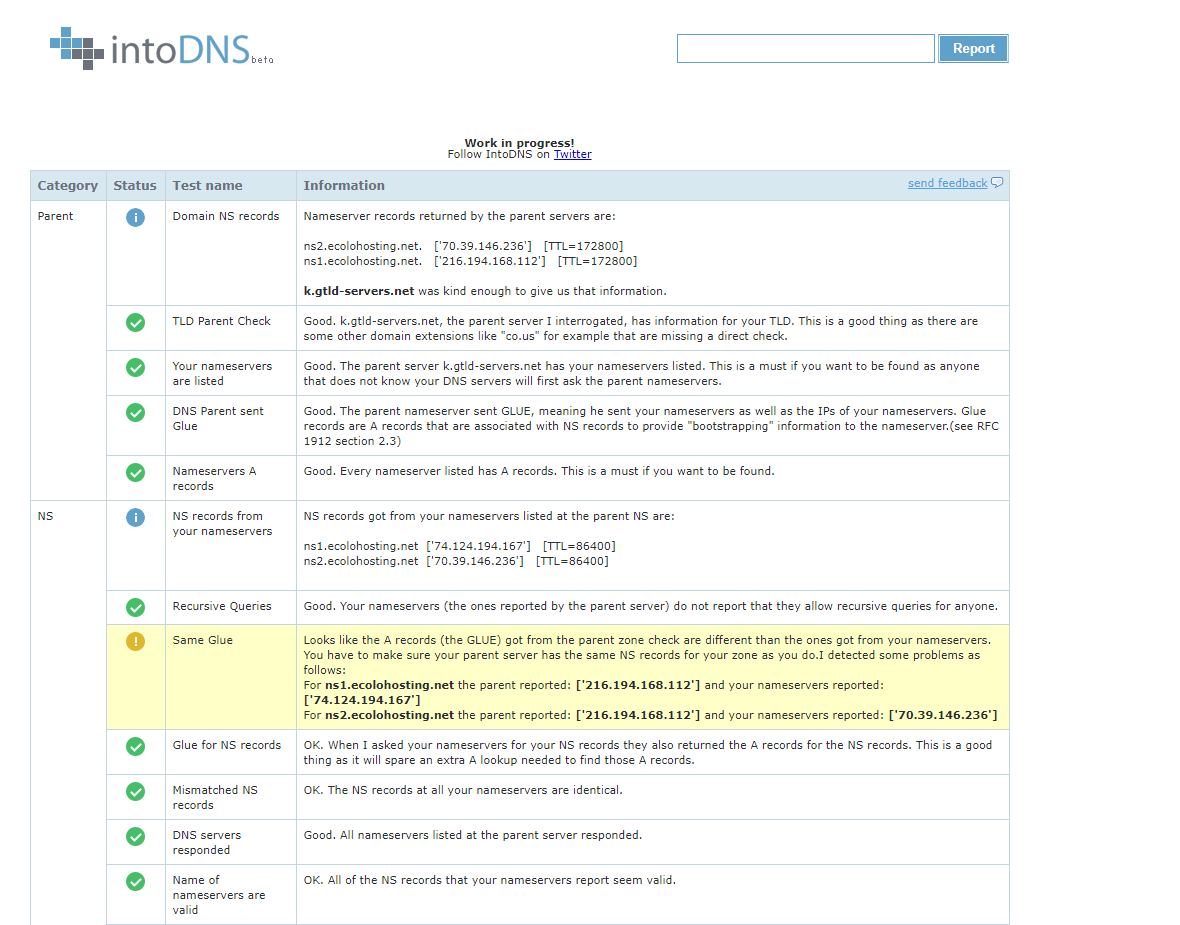
Make sure there are no errors and done. You have configured the incoming mail filter.
7.- Final test

Send another test mail just to make sure that everything still works after the last changes.
Done!, you have succesfully set up your Spam Experts for incomigo emails.

